Clerk
Overview
Deprecation
This integration is being deprecated on 1 April 2025, and replaced with the new Clerk third-party integration. See the Supabase with Clerk docs for more information.
You can still use this integration unofficially since the primitives on both the Supabase and Clerk sides remain functional. Limited support will be provided.
Overview
Clerk authenticates users, manages session tokens, and provides user management functionality that can be used in combination with the authorization logic available in Supabase through PostgreSQL Row Level Security (RLS) policies.
Documentation
This guide explains how to connect your Supabase database with Clerk.
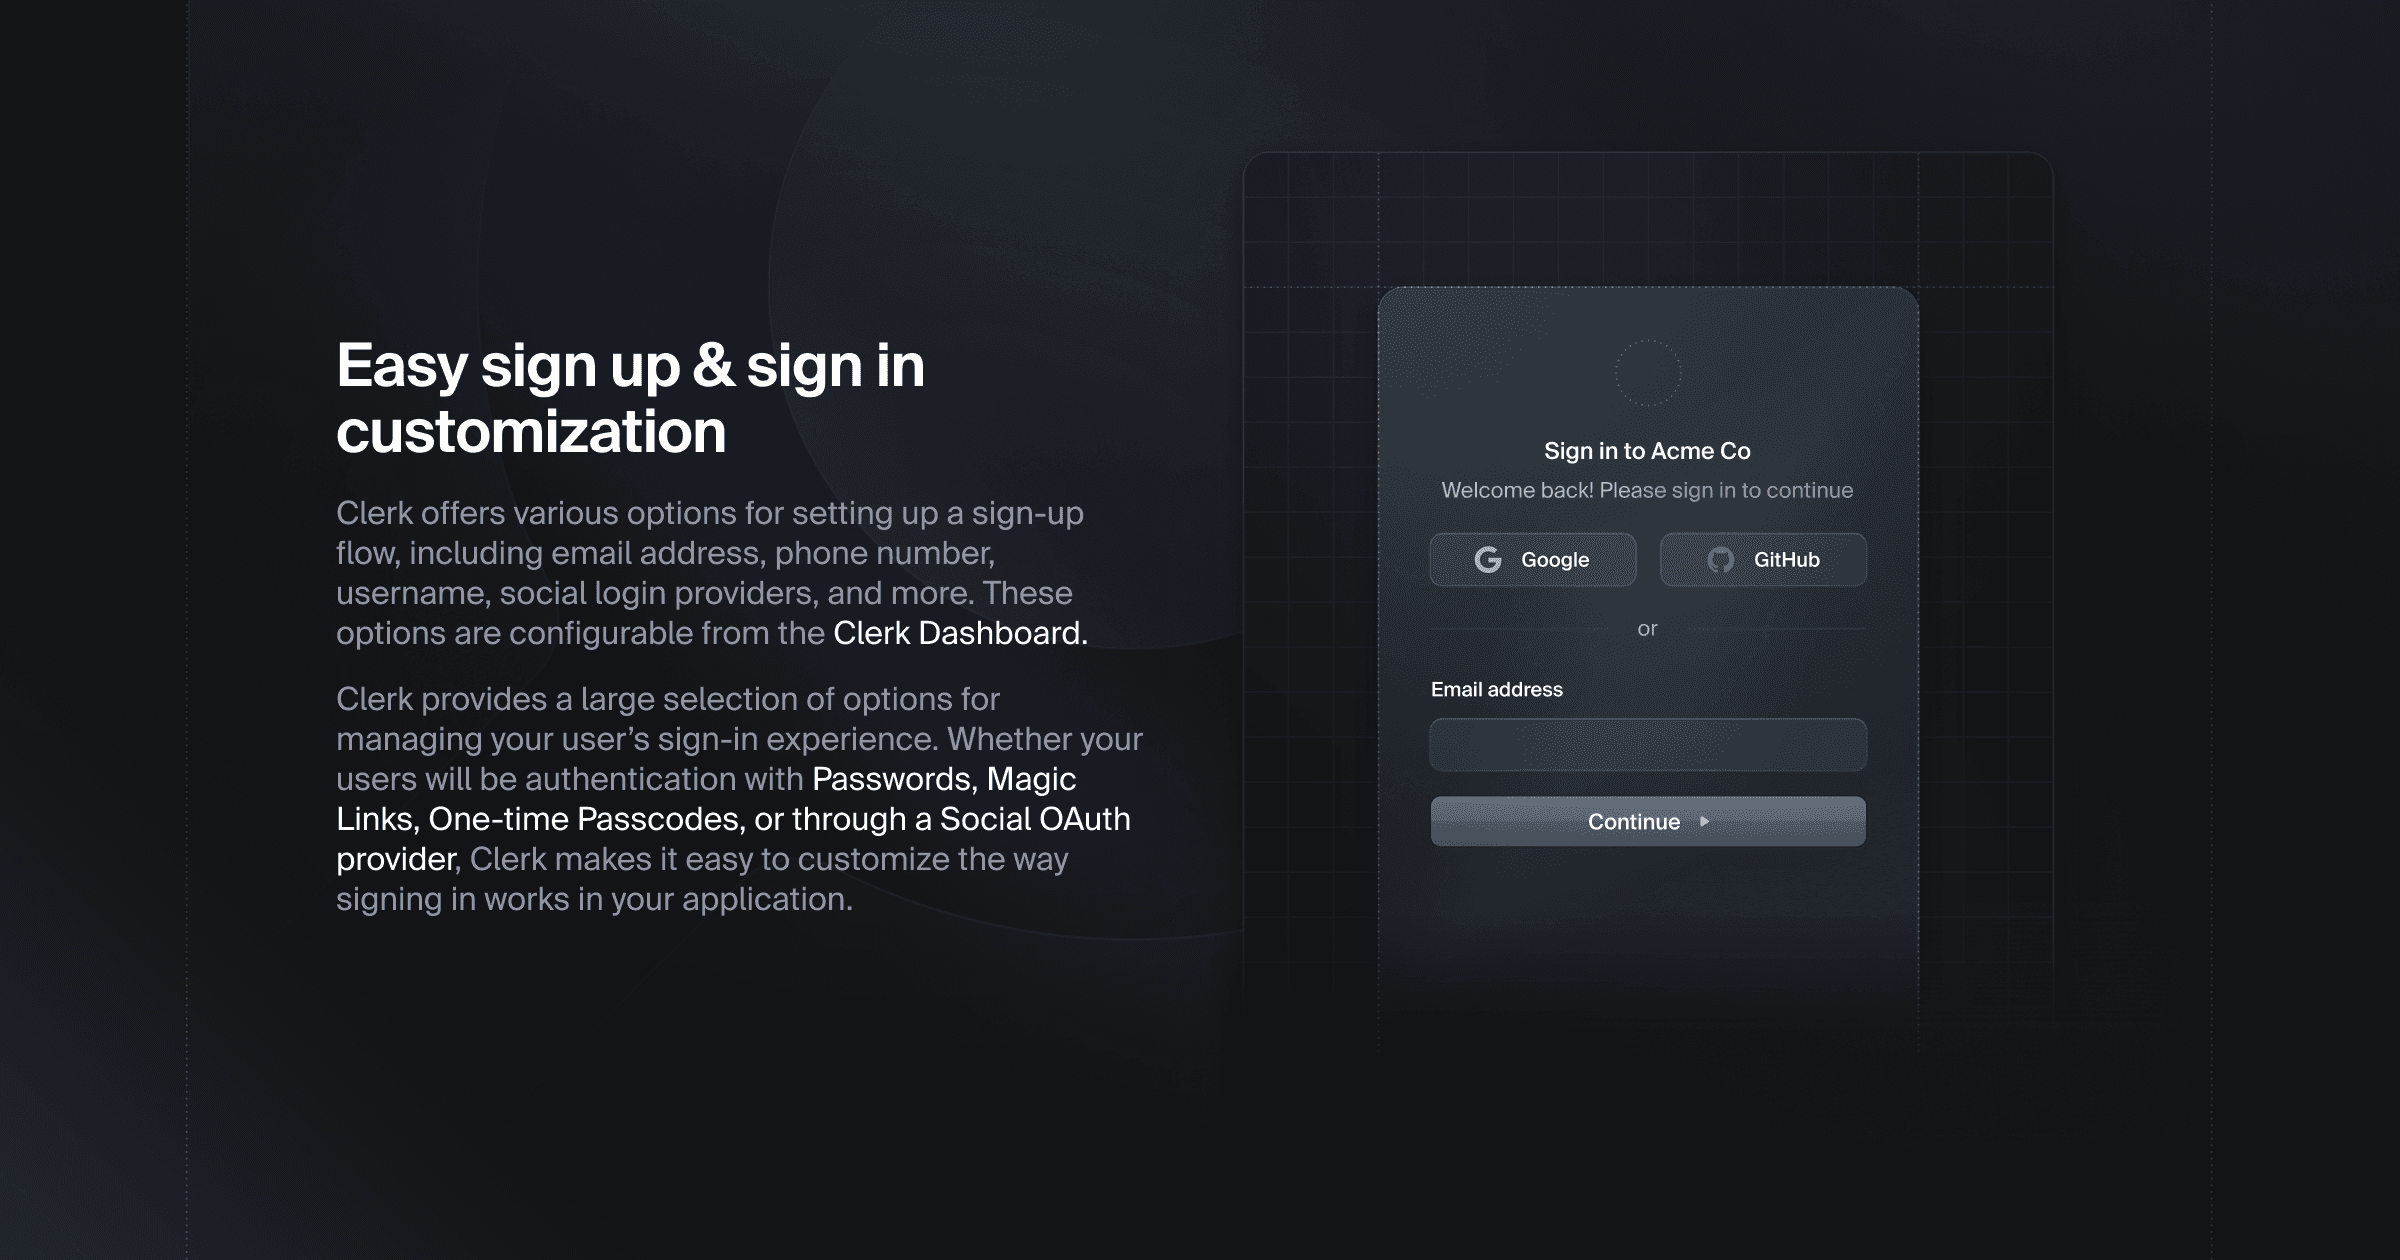
Clerk is a user management platform that provides beautifully designed, drop-in UI components to quickly add authentication capabilities to your application. Clerk supports numerous sign-in strategies such as social providers, email links, and passkeys, as well as a suite of B2B SaaS tools and APIs to build your own authentication flows.
The Clerk integration uses the authorization logic available in Supabase through PostgreSQL Row Level Security (RLS) policies.
This guide assumes you have a Supabase account and database project already set up.
If you don't have a Clerk account, you can create an account for free.
How the integration works
RLS works by validating database queries according to the restrictions defined in the RLS policies applied to the table. This guide will show you how to create RLS policies that restrict access to data based on the user's Clerk ID. This way, users can only access data that belongs to them.
To set this up, you will:
- Create a function in Supabase to parse the Clerk user ID from the authentication token.
- Create a
user_idcolumn that defaults to the Clerk user's ID when new records are created. - Create policies to restrict what data can be read and inserted.
- Use the Clerk Supabase integration helper in your code to authenticate with Supabase and execute queries.
1: Create a function to check the incoming user ID
Create a function named requesting_user_id() that will parse the Clerk user ID from the authentication token. This function will be used to set the default value of user_id in a table and in the RLS policies to ensure the user can only access their data.
-
In the sidebar of your Supabase dashboard, navigate to Database > Functions.
-
Select Create a new function.
-
In the Add a new function sheet, make the following changes:
- Set Name of function to
requesting_user_id. - Set Return type to
text. - Toggle Show advanced settings on.
- Set Language to
sql. - Populate the Definition with the following sql:
_10SELECT NULLIF(_10current_setting('request.jwt.claims', true)::json->>'sub',_10''_10)::text;- Select Confirm.
- Set Name of function to
2: Create a user_id column
💡 The following steps will need to be performed on any tables you wish to secure.
Next, you’ll create a user_id column in the table you wish to secure. This column will be used in the RLS policies to only return or modify records scoped to the user's account and it will use the requesting_user_id() function you just created as its default value.
- Navigate to the sidebar on the left and select Table Editor.
- Select the table you wish to secure.
- In the table, select the + column to add a new column.
- Set the Name to user_id.
- Set Type to text.
- Set Default Value to
requesting_user_id(). - Select Save to create the column.
3: Enable RLS on your table and create the policies
To enable RLS on your table:
- In the top bar above the table, select RLS disabled and then Enable RLS for this table.
- In the modal that appears, select Enable RLS.
- Select the Add RLS policy button (which has replaced RLS disabled).
Create two policies: one to enforce that the data returned has a user_id value that matches the requestor, and another to automatically insert records with the ID of the requestor.
- Select Create policy to create the
SELECTpolicy:-
Provide a name for the policy.
-
For Policy Command, select SELECT.
-
For Target roles, select authenticated.
-
Replace the "-- Provide a SQL expression for the using statement" with the following:
_10requesting_user_id() = user_id -
Select Save policy.
-
- Select Create policy to create the
INSERTpolicy:-
Provide a name for the policy.
-
For Policy Command, select INSERT.
-
For Target roles, select authenticated.
-
Replace the "-- Provide a SQL expression for the with check statement" with the following:
_10requesting_user_id() = user_id -
Select Save policy.
-
4: Get your Supabase JWT secret key
To give users access to your data, Supabase's API requires an authentication token. Your Clerk project can generate these authentication tokens, but it needs your Supabase project's JWT secret key first.
To find the JWT secret key:
- In the sidebar of your Supabase dashboard, navigate to Project Settings > API.
- Under the JWT Settings section, save the value in the JWT Secret field somewhere secure. This value will be used in the next step.
5: Create a Supabase JWT template
Clerk's JWT templates allow you to generate a new valid Supabase authentication token for each signed-in user. These tokens allow authenticated users to access your data with Supabase's API.
To create a Clerk JWT template for Supabase:
- Navigate to the Clerk Dashboard.
- In the navigation sidebar, select JWT Templates.
- Select the New template button, then select Supabase from the list of options.
- Configure your template:
- The value of the Name field will be required when using the template in your code. For this tutorial, name it
supabase. - Signing algorithm will be
HS256by default. This algorithm is required to use JWTs with Supabase. Learn more in the Supabase docs. - Under Signing key, add the value of your Supabase JWT secret key from the previous step.
- You can leave all other fields at their default settings or customize them to your needs. See the Clerk JWT template guide to learn more about these settings.
- Select Save from the notification bubble to complete setup.
- The value of the Name field will be required when using the template in your code. For this tutorial, name it
6: Configure your application
The next step is to configure your client. Supabase provides an official JavaScript/TypeScript client library and there are libraries in other languages built by the community.
This guide will use a Next.js project with the JS client as an example, but the mechanism of setting the authentication token should be similar to other libraries and frameworks.
Set up Clerk
To configure Clerk in your Next.js application, follow the Next.js Quickstart available in the Clerk docs. The linked guide will walk you through the basics of configuring Clerk by adding sign-up and sign-in functionality to your application.
Configure the Supabase client
Next, the Supabase client used to query and modify data in your Supabase database needs to be modified to use the Clerk token as part of the request headers. This can be done by customizing the fetch that is used by Supabase like so:
_40import { useSession, useUser } from '@clerk/nextjs'_40import { createClient } from '@supabase/supabase-js'_40_40export default function Home() {_40 // The `useSession()` hook will be used to get the Clerk `session` object_40 const { session } = useSession()_40 _40 // Create a custom supabase client that injects the Clerk Supabase token into the request headers_40 function createClerkSupabaseClient() {_40 return createClient(_40 process.env.NEXT_PUBLIC_SUPABASE_URL!,_40 process.env.NEXT_PUBLIC_SUPABASE_KEY!,_40 {_40 global: {_40 // Get the custom Supabase token from Clerk_40 fetch: async (url, options = {}) => {_40 // The Clerk `session` object has the getToken() method _40 const clerkToken = await session?.getToken({_40 // Pass the name of the JWT template you created in the Clerk Dashboard_40 // For this tutorial, you named it 'supabase'_40 template: 'supabase',_40 })_40 _40 // Insert the Clerk Supabase token into the headers_40 const headers = new Headers(options?.headers)_40 headers.set('Authorization', `Bearer ${clerkToken}`)_40 _40 // Call the default fetch_40 return fetch(url, {_40 ...options,_40 headers,_40 })_40 },_40 },_40 },_40 )_40 }_40 _40 //... The rest of the code is removed for brevity_40}
Then the client can be created and used throughout the application:
_10const client = createClerkSupabaseClient()
If you have previously followed the Supabase Next.js guide, you’d replace any use of the createClient function with the one above.
Example
The following example demonstrates how this technique is used in a to-do application that queries data from and inserts data into a tasks table, which will be secured with the RLS policies created in previous steps:
_93'use client'_93import { useEffect, useState } from 'react'_93import { useSession, useUser } from '@clerk/nextjs'_93import { createClient } from '@supabase/supabase-js'_93_93export default function Home() {_93 const [tasks, setTasks] = useState<any[]>([])_93 const [loading, setLoading] = useState(true)_93 const [name, setName] = useState('')_93 // The `useUser()` hook will be used to ensure that Clerk has loaded data about the logged in user_93 const { user } = useUser()_93 // The `useSession()` hook will be used to get the Clerk `session` object_93 const { session } = useSession()_93_93 // Create a custom supabase client that injects the Clerk Supabase token into the request headers_93 function createClerkSupabaseClient() {_93 return createClient(_93 process.env.NEXT_PUBLIC_SUPABASE_URL!,_93 process.env.NEXT_PUBLIC_SUPABASE_KEY!,_93 {_93 global: {_93 // Get the custom Supabase token from Clerk_93 fetch: async (url, options = {}) => {_93 const clerkToken = await session?.getToken({_93 template: 'supabase',_93 })_93_93 // Insert the Clerk Supabase token into the headers_93 const headers = new Headers(options?.headers)_93 headers.set('Authorization', `Bearer ${clerkToken}`)_93_93 // Call the default fetch_93 return fetch(url, {_93 ...options,_93 headers,_93 })_93 },_93 },_93 },_93 )_93 }_93_93 // Create a `client` object for accessing Supabase data using the Clerk token_93 const client = createClerkSupabaseClient()_93_93 // This `useEffect` will wait for the `user` object to be loaded before requesting_93 // the tasks for the logged in user_93 useEffect(() => {_93 if (!user) return_93_93 async function loadTasks() {_93 setLoading(true)_93 const { data, error } = await client.from('tasks').select()_93 if (!error) setTasks(data)_93 setLoading(false)_93 }_93_93 loadTasks()_93 }, [user])_93_93 async function createTask(e: React.FormEvent<HTMLFormElement>) {_93 e.preventDefault()_93 // Insert task into the "tasks" database_93 await client.from('tasks').insert({_93 name,_93 })_93 window.location.reload()_93 }_93_93 return (_93 <div>_93 <h1>Tasks</h1>_93_93 {loading && <p>Loading...</p>}_93_93 {!loading && tasks.length > 0 && tasks.map((task: any) => <p>{task.name}</p>)}_93_93 {!loading && tasks.length === 0 && <p>No tasks found</p>}_93_93 <form onSubmit={createTask}>_93 <input_93 autoFocus_93 type="text"_93 name="name"_93 placeholder="Enter new task"_93 onChange={(e) => setName(e.target.value)}_93 value={name}_93 />_93 <button type="submit">Add</button>_93 </form>_93 </div>_93 )_93}